Page 10 - Hydrocarbon Evaluation Rubber and Plastic
P. 10
Observation

           and                             Observation of internal defects, Measurement of internal structure

           Measurement


                                           These instruments allow the non-destructive observation of the interior of products, such as
                                           resin products, using X-rays to check for defects, such as voids, and to check the internal state.
                                           They are effective for quality control and failure analysis.


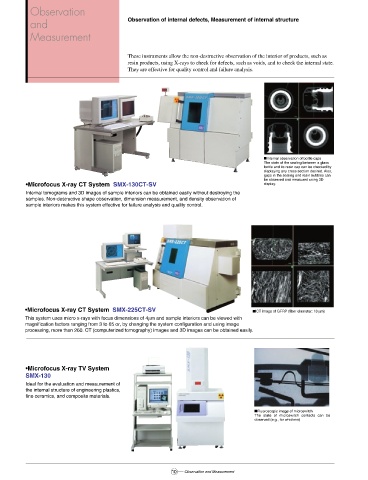
                                                                                        ■Internal observation of bottle caps
                                                                                        The state of the sealing between a glass
                                                                                        bottle and its resin cap can be checked by
                                                                                        displaying any cross section desired. Also,
                                                                                        gaps in the sealing and resin bubbles can
                                                                                        be observed and measured using 3D
          •Microfocus X-ray CT System  SMX-130CT-SV                                     display.
          Internal tomograms and 3D images of sample interiors can be obtained easily without destroying the
          samples. Non-destructive shape observation, dimension measurement, and density observation of
          sample interiors makes this system effective for failure analysis and quality control.


         •Microfocus X-ray CT System  SMX-225CT-SV                                   ■ICT image of GFRP (fiber diameter: 18 µm)
         This system uses micro x-rays with focus dimensions of 4µm and sample interiors can be viewed with
         magnification factors ranging from 3 to 65 or, by changing the system configuration and using image
         processing, more than 260. CT (computerized tomography) images and 3D images can be obtained easily.


          •Microfocus X-ray TV System
          SMX-130
          Ideal for the evaluation and measurement of
          the internal structure of engineering plastics,
          fine ceramics, and composite materials.


                                                                                     ■Fluoroscopic image of microswitch
                                                                                     The state of microswitch contacts can be
                                                                                     observed (e.g., for whiskers)


                                                          10  Observation and Measurement

