Page 35 - Shimadzu Journal vol.10 Issue1
P. 35
MIV-X Ultrasonic Optical
                                                                    Flaw Detector


                                                       Latest topics 5

                      Ultrasonic Optical Flaw Detector


            Shimadzu Corporation announces the release of the MIV-X ultrasonic   transportation equipment and machinery, raw materials, and construc-
            optical flaw detector. This product visualizes and digitizes flaws, such   tion, as well as research agencies engaged in the development of mul-
            as peeling, cracks, and voids, in parts and multi-materials in aircraft,   ti-materials and other new materials.
            automobiles,  and  electrical  and  electronic  equipment  using  our  pro-
            prietary ultrasonic optical flaw detection technology*, which captures   *This technology is patented in Japan, China, and the United States.
            images of the ultrasonic propagation on the surface of an object. While
            inheriting the basic functions of its predecessor–the MIV-500, which   Laser irradiation  Camera
            could inspect an area up to 400 mm by 600 mm in approximately 20
            seconds, The new MIV-X offers significant advancements that contrib-
            ute to the evolution of a highly functional nondestructive inspection   Synchronized
            system. The advancements include a noise removal function that ena-
            bles more precise imaging, a flaw size measurement function, and an
            increase in resolution from the minimum detection size of 1 mm to 0.5   Oscillator
            mm. This complements the conventional hammering test flaw-check-
            ing process, while simultaneously providing automatic logging of the                 delamination
            measurement results.                                    Ultrasonic wave          Void
                                                                                    Crack
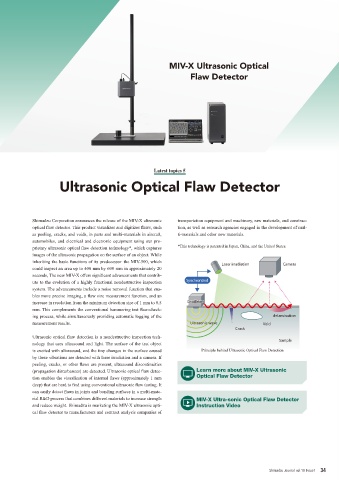
            Ultrasonic optical flaw detection is a nondestructive inspection tech-
            nology that uses ultrasound and light. The surface of the test object                  Sample
            is excited with ultrasound, and the tiny changes in the surface caused   Principle behind Ultrasonic Optical Flaw Detection
            by these vibrations are detected with laser irradiation and a camera. If
            peeling, cracks, or other flaws are present, ultrasound discontinuities
            (propagation disturbances) are detected. Ultrasonic optical flaw detec-  Learn more about MIV-X Ultrasonic
            tion enables the visualization of internal flaws (approximately 1 mm   Optical Flaw Detector
            deep) that are hard to find using conventional ultrasonic flaw testing. It
            can easily detect flaws in joints and bonding surfaces in a multi-mate-
            rial R&D process that combines different materials to increase strength   MIV-X Ultra-sonic Optical Flaw Detector
            and reduce weight. Shimadzu is marketing the MIV-X ultrasonic opti-  Instruction Video
            cal flaw detector to manufacturers and contract analysis companies of


                                                                                                Shimadzu Journal  vol.10  Issue1 34

