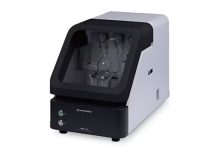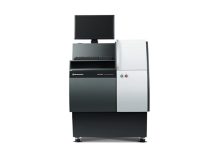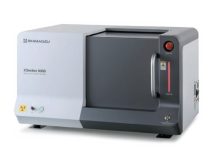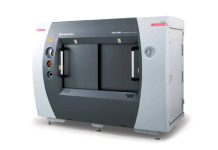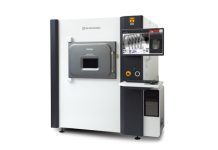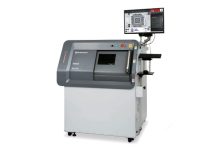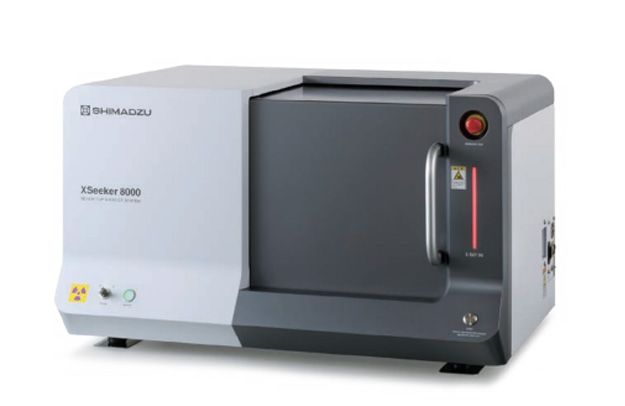
XSeeker™ 8000 – Designed for Simplicity
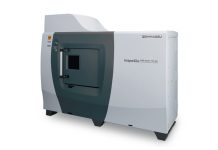
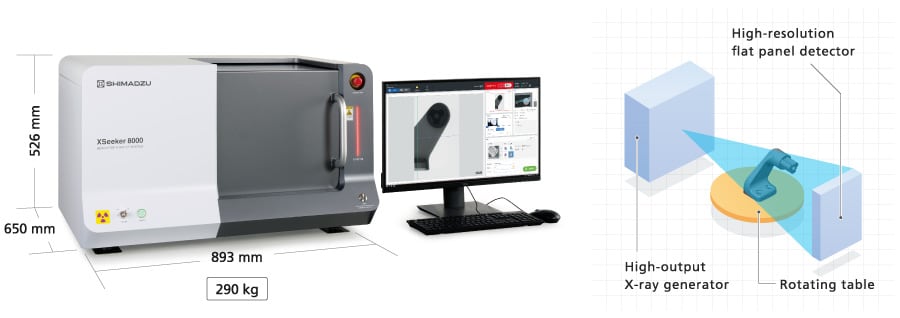
The XSeeker 8000 bench-top X-ray computed tomography (CT) system is equipped with a high-output X-ray generator and a high-resolution flat panel detector. Despite its compact size, it has a high X-ray output of 160 kV, enabling clear observations of molded plastic parts as well as aluminum die cast parts and other metal parts.
In addition, the newly developed XSeeker control software provides high operability and the highest throughput to date.
With clear image quality and high throughput, it supports applications in a wide range of situations, from detailed observations in product development and quality evaluation to inspections at machining sites.
Compact, High-Output System
Smallest, Lightest Bench-Top CT System in Its Class
It is the smallest and lightest bench-top system in its X-ray output class, so it can be installed anywhere.
Since the system size and weight meet the minimum standards for loading into a general passenger elevator in Japan (as per P-6-C *JIS A 4301-1983), there are no difficulties related to delivering the system.
High 160 kV Output Achieves High Penetration Ability
Thanks to its 160 kV X-ray output, the system can observe thick, hard-to-penetrate plastic and metal parts.
Note: The following are reference values.
X-Ray Transmittance Comparison between 100 kV and 160 kV

Image when Penetrating 100 mm of Aluminum
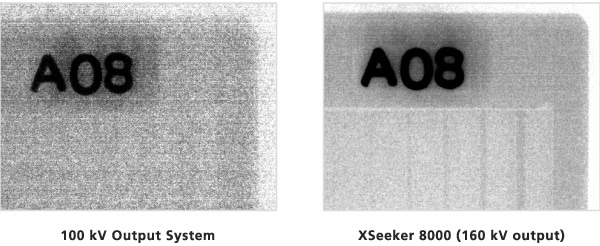
Image Quality and Functionality on Par with High-End Models
High-Accuracy Scanning Utilizing a Maximum Input Resolution of 5.6 Million Pixels
The offset scan layout extends the width to approximately twice that of conventional normal scans, resulting in an input resolution equivalent to 5.6 million pixels. The system provides high-accuracy scanning across a wide 100 mm diameter field of view size.

Equipped with a 50 μm Pixel Pitch Flat Panel Detector
The system is equipped with a flat panel detector with fine picture elements measuring approximately 50 μm per pixel. This is the smallest pixel pitch of any equivalent class instrument, enabling sharp observations down to the level of fine structures.
Equipped as Standard with a High-Functionality All-In-One Viewer
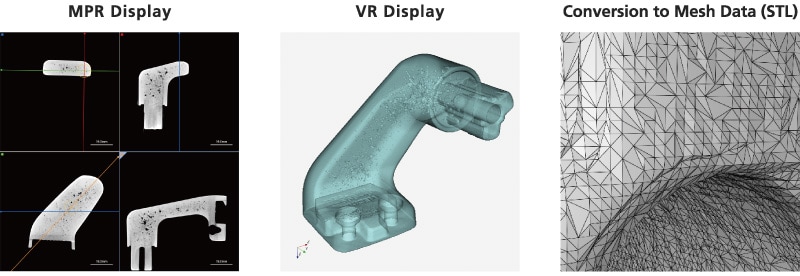
The system is equipped with a high-functionality viewer with multiple functions. In addition to an MPR display, which shows multiple cross-sectional images side by side, this can be combined with a VR display capable of 3D displays, resulting in more intuitive observations.
Measurement can be performed on both MPR images and VR images. Further, the CT data can be converted to mesh data (STL) for output. Data converted to STL can be utilized in a variety of applications, such as loading into 3D CAD or outputting with a 3D printer.
Operation Optimized for Inspections
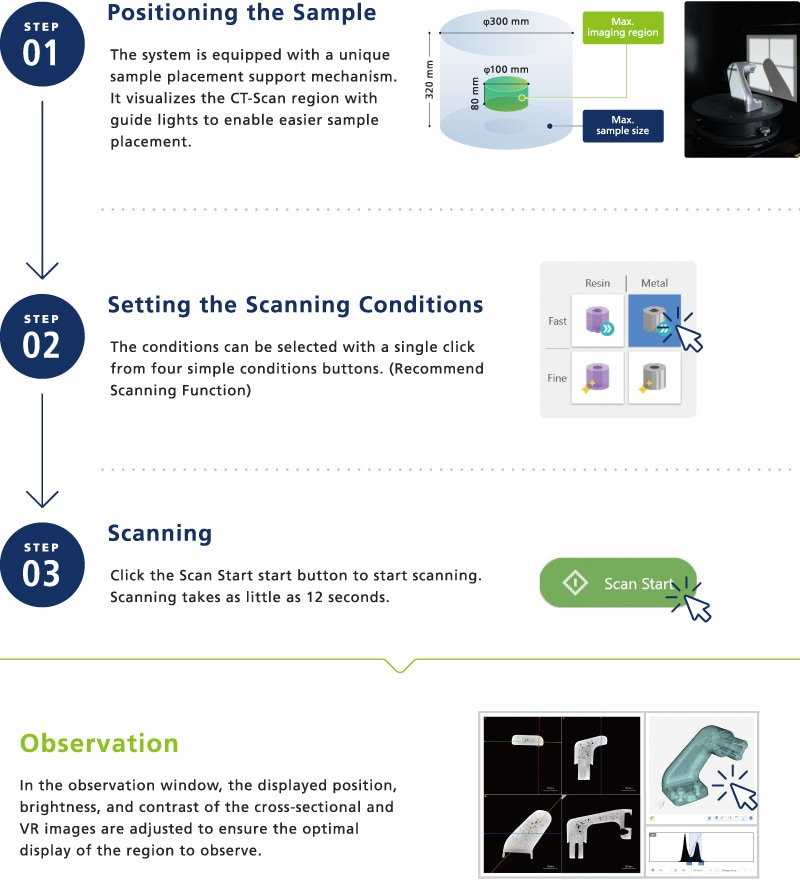
3-Step Scanning
A simple 3-step process enables starting observations. Upon installation, new operators can run the system with minimal training.
Calibration is not required prior to sample placement.
Operation at the Push of a Button
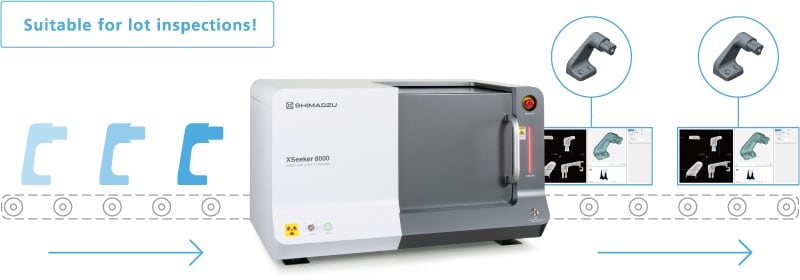
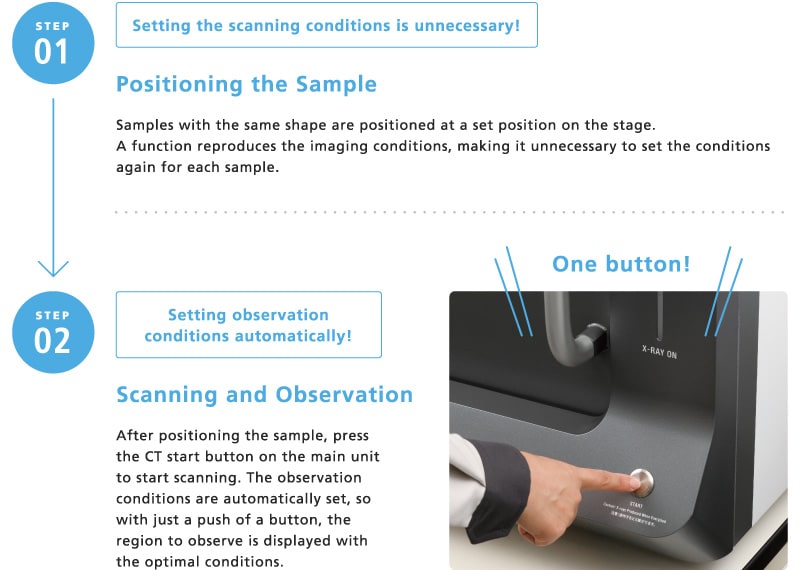
In inspection applications with repeated scanning of samples with the same shape, operation at the push of a button enhances throughput.
The optimal conditions, including the position displayed and the contrast during observations, are recorded together with the scanning conditions. This allows observations to begin immediately after scanning without adjusting the observation position or contrast. All operations from starting the scanning to observing the results can be completed at the push of a button, without any software operations.
Scanning in as Little as 12 Seconds and High-Speed Reconstruction Calculations
High-speed scanning can take as little as 12 seconds. In addition, the system is equipped with the same reconstruction system as high-end models, so CT data can be displayed a mere 10 seconds after scanning is complete. This is approximately twice as fast as Shimadzu’s other CT models.

Newly Developed Control Software Enables Intuitive Operations
The simple user interface which eliminates complicated steps, enables intuitive operation so that anyone can easily use the system.
There are dedicated windows for scanning and observation, respectively, and the user is free to switch between them.
- Scanning Window
- Observation Window
Recommend Scanning Function
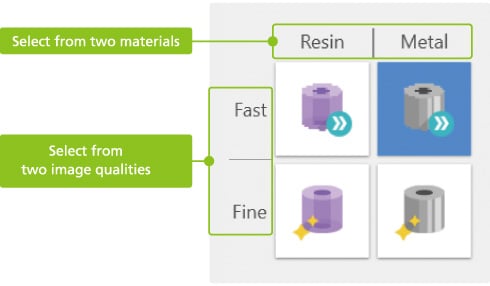
The system is equipped with an recommend scanning function, which can set all the scanning conditions with a single click. The optimal imaging conditions can be set easily just by selecting one combination of material and image quality.

Supporting the Safety and Security of Users
Status Monitor
In addition to displaying the instrument status, including the stage position during normal operation, the monitor provides details of any errors that occur during abnormal operation and the site where the problem occurs, so the operator is notified of the problem immediately.
The status of the system as a whole is always monitored, from warnings that the sliding door is not shut, for example, to alarms indicating overheating of the X-ray generator and communications faults.
- During Normal Operation
- During Abnormal Operation
Safety Compliant with CE Marking
